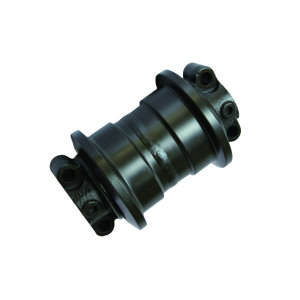
Replacing excavator supporting products can feel intimidating at first, especially if you’re not a professional technician. Many individual users, small contractors, and equipment owners search online every day for simple, reliable guidance on maintaining components such as track rollers, idlers, sprockets, and loader supporting products. So today, let’s walk through an easy-to-understand guide on how to replace a track roller, one of the most common excavator supporting products you’ll handle.
Before we start, it’s worth noting that track rollers directly influence machine stability, travel smoothness, and working efficiency. And just like we discussed in earlier blogs about common replacement mistakes and the differences between roller types, doing it correctly can help you avoid unnecessary wear and costly downtime.
Even though rollers are built for heavy-duty work, they eventually wear out. Here are the most common signs:
Uneven wear or visible scoring
Excessive noise during travel
Oil leakage around the roller seals
The excavator "vibrates" more than before
Roller feels loose or misaligned
If you’ve seen any of these signs, replacing the roller sooner rather than later is a smart move. And yeah, some users wait too long because they think the machine can “hang in there,” but trust me, delayed replacement usually leads to bigger repair bills.
To keep things smooth, prepare these essentials:
A stable jack or lifting tool
Socket wrenches and breaker bar
Rust removal spray
Safety gloves and eye protection
Replacement track roller that matches your model
Cleaning tools
Also, remember to park your excavator on level ground and switch off the engine completely. This sounds obvious, but people sometimes forget — and that’s not great for safety.
Lift the track frame slightly using a jack so the roller sits freely. Make sure the machine is stable — no wobbling.
Dirt, mud, and rust often hide around the mounting points. A clean surface makes the next steps way easier and helps prevent alignment issues.
Locate the mounting bolts and remove them carefully. Sometimes the bolts are stuck due to corrosion, so don’t panic — a little rust remover usually does the trick. And hey, it happens to everyone.
Align the roller with the mounting holes, insert the bolts, and tighten them evenly. Avoid overtightening, as it may damage the threads.
A misaligned roller can cause uneven wear on the entire undercarriage. After installation, rotate the track manually to confirm movement feels smooth and natural.
Start the machine, move forward and backward slowly, and listen for unusual sounds. If everything feels normal—great job!
Inspect rollers regularly (every 250–500 hours is ideal)
Keep the undercarriage clean
Replace rollers in pairs if wear levels are extremely different
Store spare parts in dry, clean spaces
Choose quality excavator supporting products from reliable suppliers
This connects back to our previous posts where we discussed how low-quality parts often cause premature failure. Using solid, well-tested components is always worth it in the long run.
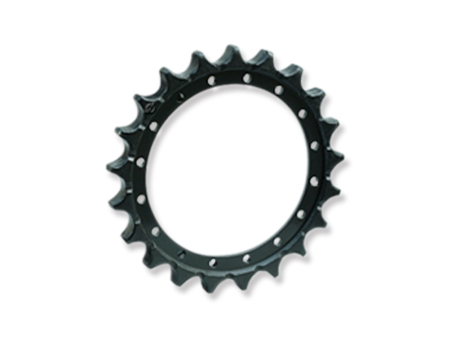
Track rollers, carrier rollers, sprockets, idlers, and track links work together as a system. When replacing one part, it’s often wise to inspect the entire undercarriage. This improves machine performance and reduces downtime — a topic we’ll continue covering in upcoming blogs as part of the full content matrix.